
Write the job before the material
Describe what the part must do: hold its shape, take occasional impact, fit another component or look clean on a desk. Record where it will live, whether it sees heat, how it is loaded and which dimensions matter. A decorative model and a loaded clip do not have the same acceptance criteria.
PLA is a useful baseline for many indoor prototypes. PETG is often considered for practical parts, but that does not make it the better choice in every geometry. The finished object depends on formulation, orientation, layer bonding and the actual print settings.
Check the environment and the load
Avoid using a material family name as a temperature rating for the finished part. A technical sheet may describe a moulded or printed specimen under particular conditioning and loading. A thin printed arm left under load can behave differently from that specimen.
For an important fit or load, define a test that represents the intended application. Retain the part orientation and relevant processing notes. If the brief requires a qualification you cannot establish for the complete part, leave it unresolved rather than treating a printable model as an approved component.

Build surface is part of the choice
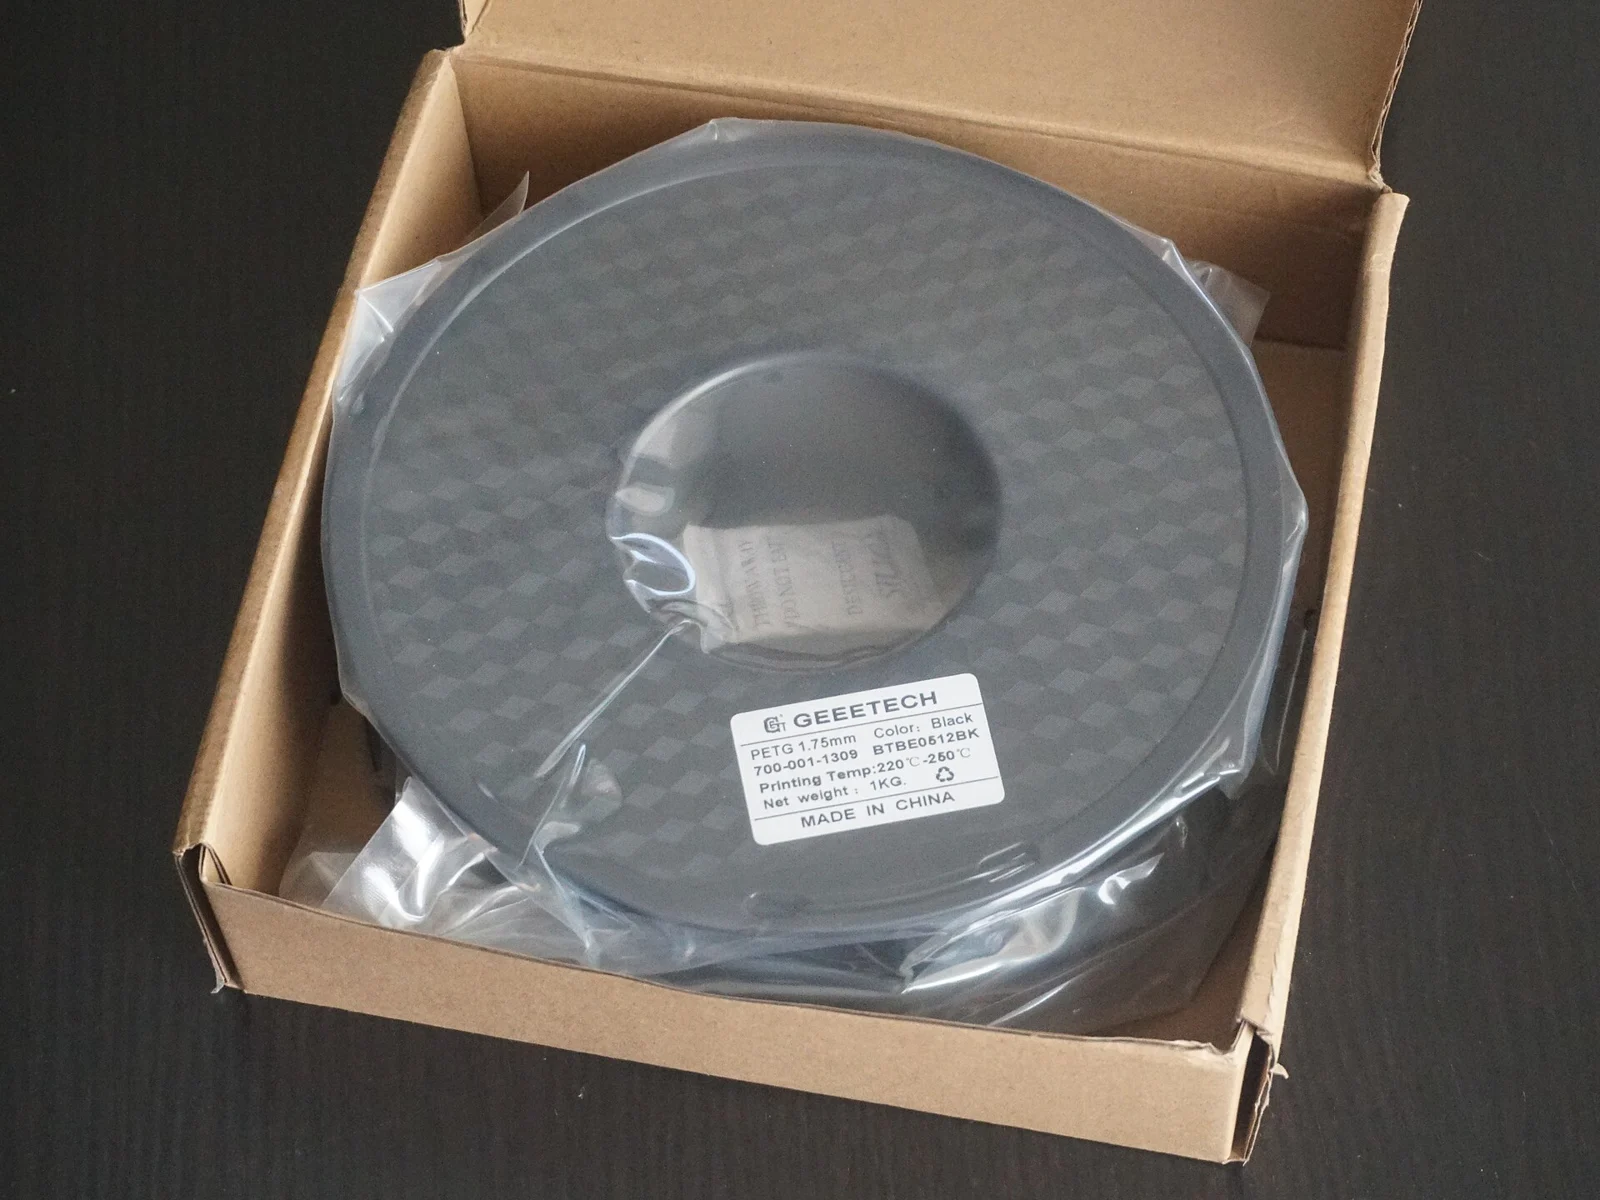
PETG can adhere strongly to some surfaces. Read the build sheet and filament instructions together, including any required separation layer and removal method. Do not assume a cleaning or adhesion routine suitable for PLA is the correct routine for another material.
Compare stringing, surface quality and support removal on a small relevant sample. Change one variable at a time. An attractive benchmark boat may tell you something about a particular setting, but it does not establish the fit of a housing or the strength of a joint.
Slice both scenarios separately
Select the correct machine, nozzle and material profiles and slice the same model for each candidate. Include the supports, brim and purge that belong to each arrangement. A change in material can also change speed, cooling and the support strategy.
Record the slicer mass and time instead of replacing a solid model volume with an assumed consumption. Use actual purchase cost per usable kilogram, not the nominal price of a pack with a different mass. Keep any drying and setup allocation explicit.
Compare the cost of good parts
In the two-scenario calculator, material and colour are labels; they do not apply a hidden profile or price. Enter the sliced grams, operating time, hands-on minutes and your failure assumption. Use the same required good quantity for both.
After printing, compare the actual usable parts with the estimate. A cheaper spool can produce a more expensive usable batch if the process adds enough handling or rejects. Equally, a more demanding material has no automatic value when the simpler material already meets the brief.